How Do You Install Clip Studio Paint Ex Brushes
Clip Studio Paint brush files have the file extension .sut (meaning "sub tool", which is what "brushes" are called in CSP).

How to install brushes
There's a number of ways to install brushes. But you usually download multiple brushes in a pack, so you'll usually want to install multiple brushes at once.
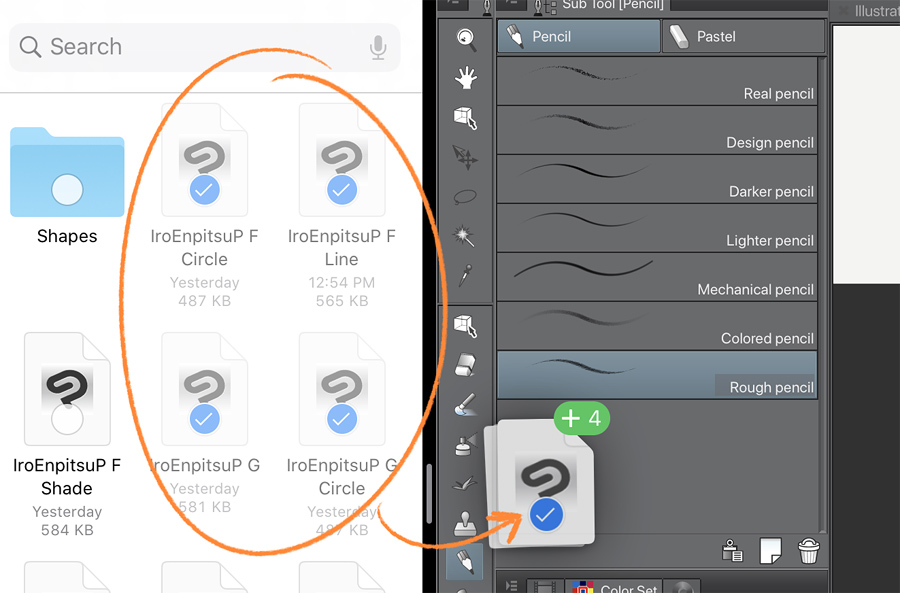
The fastest way to install multiple brushes is to select them in your file manager, and drag them into Clip Studio Paint's [Sub Tool] Palette. This is the palette that shows a list of "brushes" under a tool.
In Windows 10, the file manager is File Explorer.
In macOS, it's Finder.
In iOS/iPadOS, it's the built-in Files App.

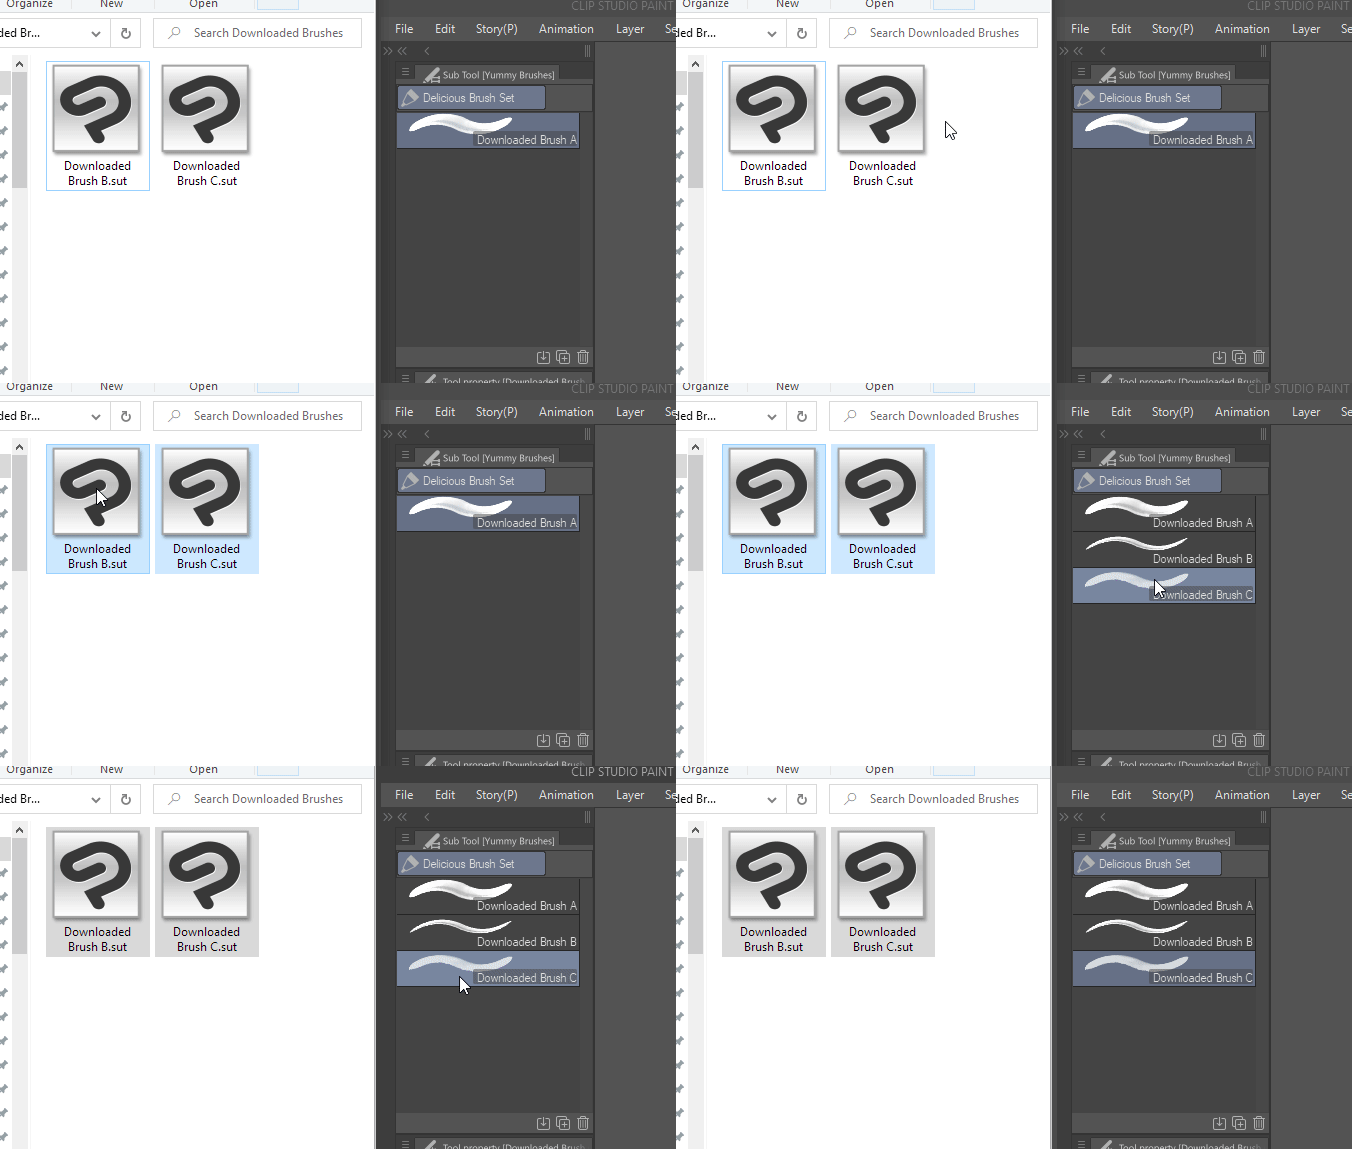
Drag-and-drop files into the [Sub Tool] palette to install.
1. Make sure your files are visible in your file manager.
2. Make sure Clip Studio Paint is open. And the [Sub Tool] palette is visible.
3. Select the tool you want to import them under.
4. Select the downloaded brush/sub tool files in the file manager.
5. Drag them into the [Sub tool] palette inside Clip Studio Paint.
And that's it! You'll see the brushes added to the list and you can use them like your other brushes.
There's also an [Import sub tool...] menu option. But that only allows you to import one file at a time.
Brushes from Clip Studio Assets
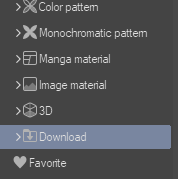
Note that this can also apply to sub tool materials you get from the Clip Studio Assets site. These get added to your Materials library rather than downloaded as files. In this case, you need to browse your Materials library to find the brushes/sub tools you downloaded. Then you just do the same steps mentioned above, except they'll come from the [Materials] window instead of the operating system file manager.
Clip Studio Paint gives you the ability to open multiple [Materials] windows so just open one (go to on Window>Material>choose any of the options) and navigate to where the brushes are. You'll normally be able to find them in the Download folder.

Importing brushes to Clip Studio Paint for iOS
The iOS Files app (since iOS 13) has the ability to unzip files and better manage files independent of the apps they came from.

Tapping the zip file in the iOS Files app will unzip it in that folder. You can then follow the normal steps listed above.
You can use iPadOS Split View or Slide Over to drag the files from the Files app to the Clip Studio Paint app.

If they're not inside an archive file, sub tool files can be imported via drag-and-drop from your apps of your online storage services like Google Drive and Dropbox. However, the reliability of this method seems to change from version to version.
If this fails, you can try to move those files locally onto your iPad first, and then drag the files from there using the Files App as described above.
If you have a lot of brushes to import and use, you may want to read up on some Brush Management Tips: https://gumroad.com/pharan/p/brush-management-tips-for-clip-studio-paint
You can find some tips and Clip Studio Paint update rundowns on my tech blog. I post there whenever Clip Studio Paint as an update or when I find some good use for a feature. : https://pharan.tech.blog
Browse Pharan's Free and Paid Brushes for Clip Studio Paint
How Do You Install Clip Studio Paint Ex Brushes
Source: https://pharan.gumroad.com/p/a-quick-way-to-install-custom-brushes-in-clip-studio-paint
0 Response to "How Do You Install Clip Studio Paint Ex Brushes"
Post a Comment